Installing ManiVault
- ManiVault Studio 1.0 or higher
- |
- 01 Oct 2023
- |
- Julian
- |
- 2 min read
ManiVault Studio is a modular plug-in visualization system intended for high-dimensional data exploration. In this tutorial, we will go step-by-step through the installation process, to get you up and running with the system at ease.
The system allows for creating custom visualization applications tailored especially to your specific field, data and preferences. Applications are composed of a number of modular ‘lego-brick’ plug-ins, that can be combined to fit your needs. The plug-ins are fully self-encapsulated, but can communicate through a common core.
1. Installing ManiVault on Windows
1.1. Prerequisites
The prerequisites for running ManiVault are as follows:
- A video card capable of running OpenGL 3.3+
1.2. Downloading the Installer
Installation on Windows is available through both an online and an offline installer, which can be found here.
1.3. Offline Installer
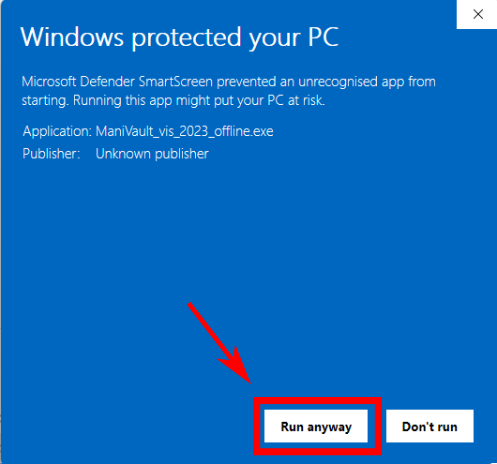
In case you have downloaded the offline installer, the installation wizard can be started by going to the location of the download and double-clicking the installer executable. A message might pop up saying Microsoft Defender prevented the app from starting. In this case, clicking on More info, allows you to click the Run anyway button.
 |
 |
The installer should then pop up looking like this:
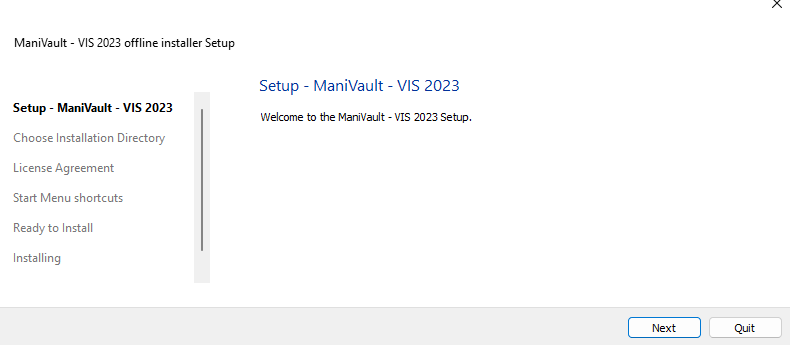
Press Next to continue to the following view:
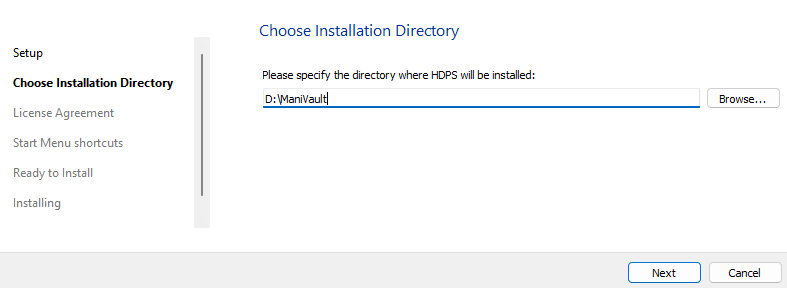
From here a directory can be chosen where the ManiVault executable will be installed by pressing Browse and selecting a directory on the local machine.
Press Next to continue to the license agreement:
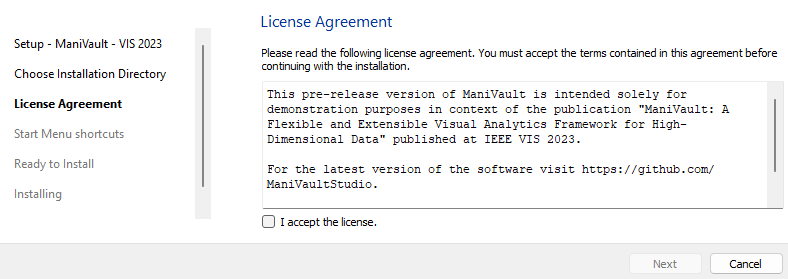
ManiVault Studio uses a permissive LGPL license, more information about this license can be found here.
Tick the I accept the license box and press Next to continue to the next step:
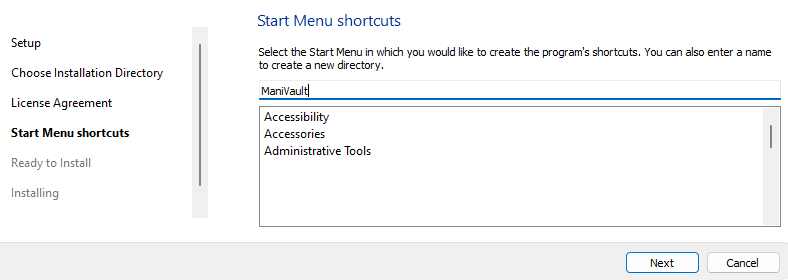
This window allows you to add a Start Menu shortcut to the ManiVault Studio executable. It can be added to any of the existing folders listed or under its own folder.
Press Next to continue to the installation window:
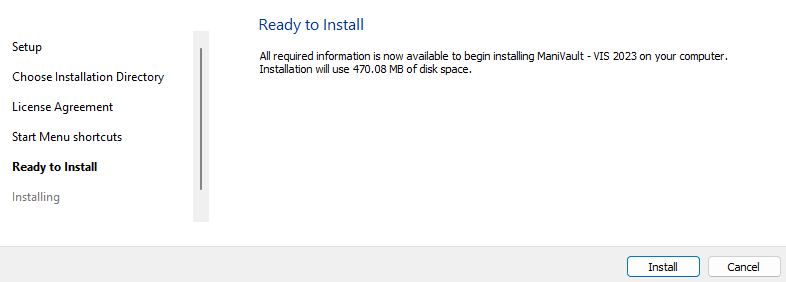
The program is now ready to be installed and the size required for proper installation is listed. When ready to install ManiVault Studio, press the Install button.
If everything went well, you should be presented with the following window:

ManiVault Studio is now installed. Press Finish and refer to the How to use ManiVault Studio tutorial to learn how to use its powerful features.